Remodeling your camper bathroom can elevate your travel experience without breaking the bank. By evaluating your current space and planning a practical design, you’ll set the stage for a functional oasis on the road. Choosing the right materials is vital, especially in such a compact area. Ready to transform your bathroom into a cozy retreat? Let’s explore the essential steps that will guide you through this rewarding DIY project.
Key Takeaways
- Measure the camper bathroom space accurately to identify limits and optimize layout for storage and functionality.
- Create a budget plan that accounts for materials, fixtures, and decor to avoid overspending.
- Choose durable, water-resistant materials for walls and flooring that can withstand the rigors of camper life.
- Demolish old fixtures carefully and ensure the secure installation of new, compact fixtures to maximize space.
- Add decorative elements, like a colorful shower curtain and storage solutions, to enhance both aesthetics and organization.
Assessing Your Current Bathroom Space
Before diving into your DIY camper bathroom remodel, it’s essential to evaluate your current bathroom space. Start by measuring every inch to understand your space limitations. Identify where you can maximize storage and functionality.
Check the plumbing considerations, ensuring the existing layout meets your needs. You might need to relocate fixtures, which can complicate things, so factor that into your plans.
Don’t forget to assess ventilation; a cramped space can lead to moisture issues. By thoroughly evaluating your bathroom, you’ll create a solid foundation for a successful remodel that enhances both comfort and utility in your camper.
Planning Your Design and Budget
As you commence planning your design and budget for your camper bathroom remodel, it’s essential to balance aesthetics with practicality. Start by gathering design inspiration from magazines or online platforms. Then, outline your budget breakdown to avoid overspending.
Here’s a simple table to guide your planning:
| Item | Estimated Cost | Notes |
|---|---|---|
| Fixtures | $200 | Sink, toilet, shower |
| Flooring | $150 | Waterproof options |
| Decor | $100 | Towels, accessories |
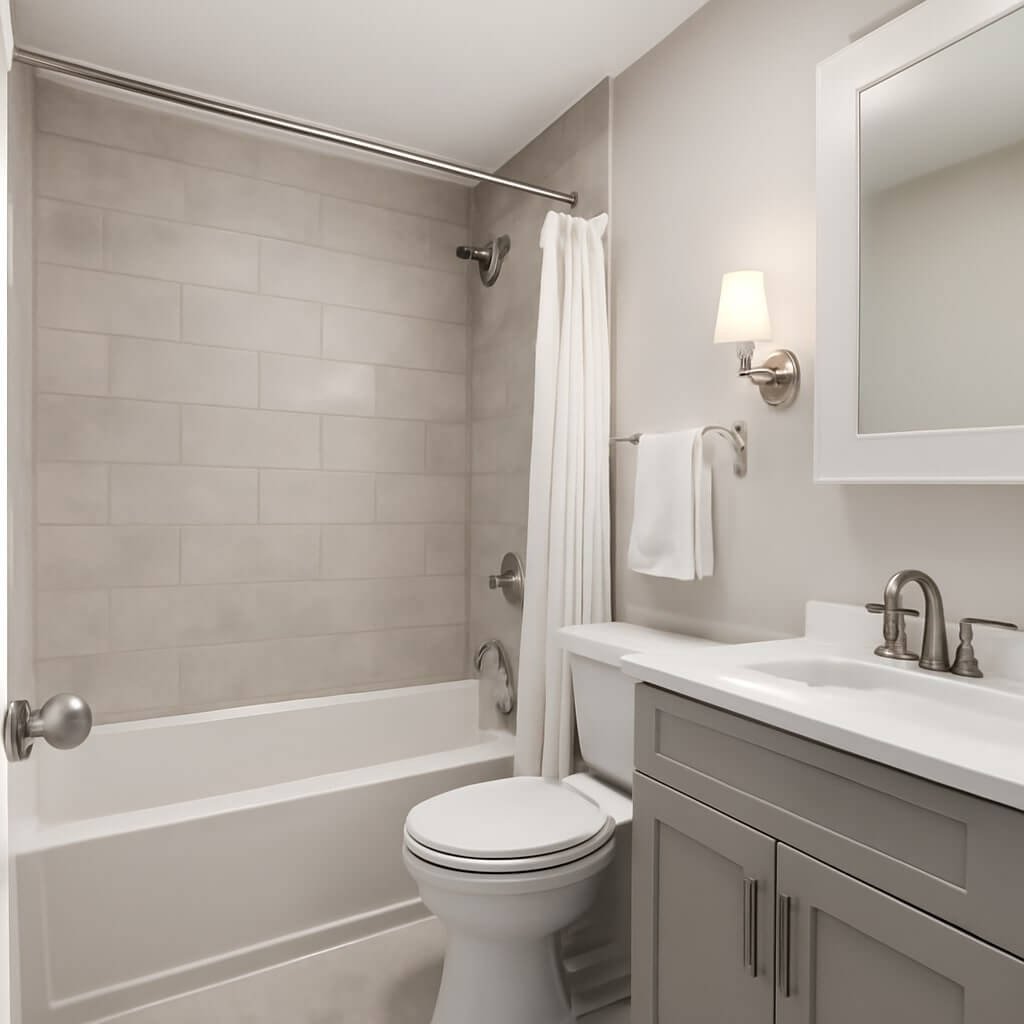
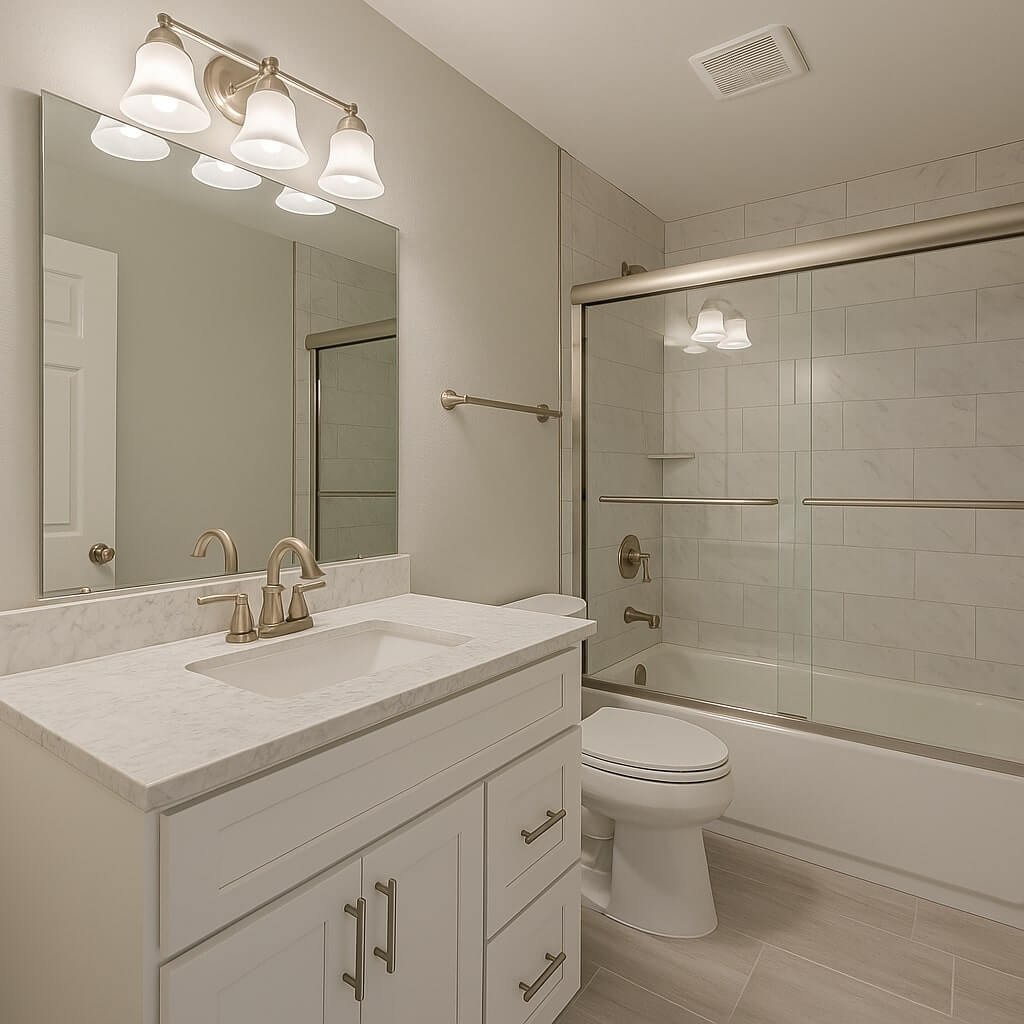
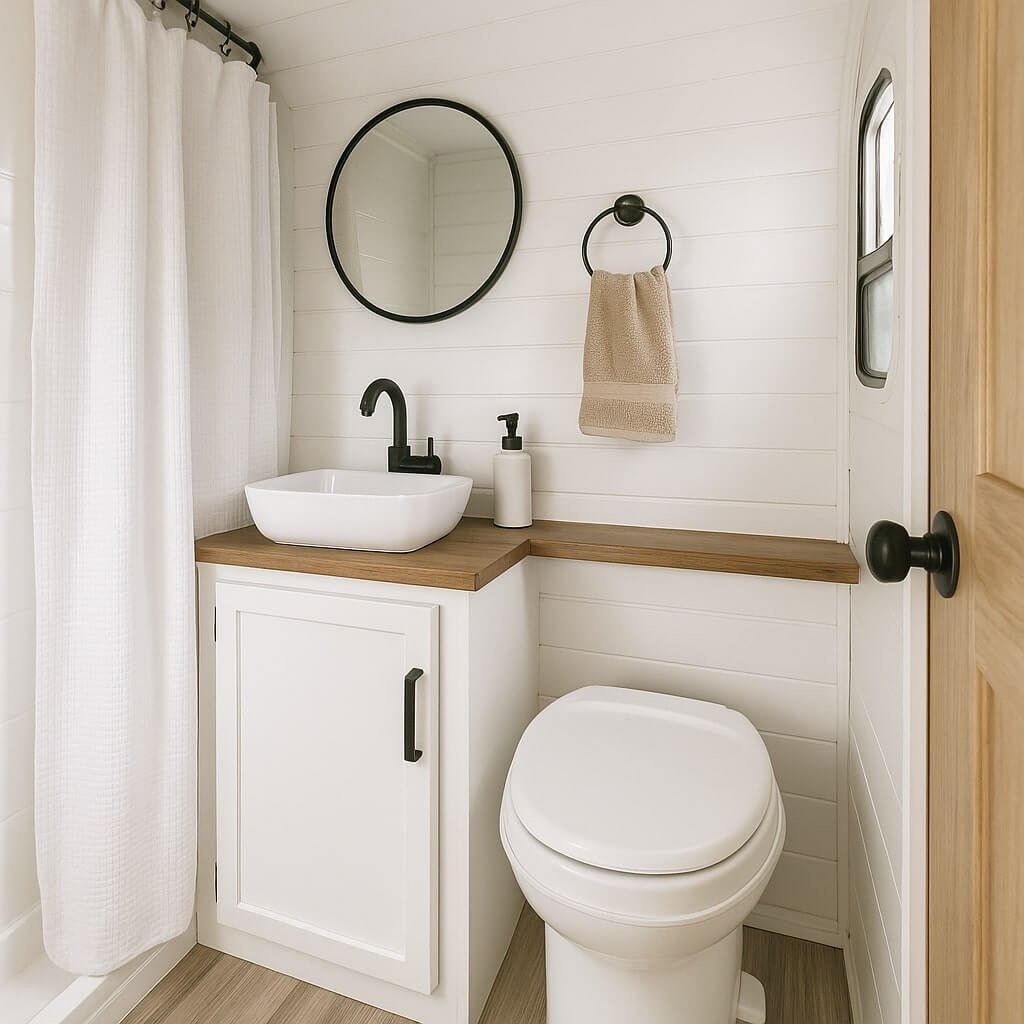
Selecting Materials and Supplies
When choosing materials and supplies for your camper bathroom remodel, it’s crucial to prioritize durability and functionality.
Start by selecting colors that create a cohesive and inviting atmosphere.
Consider these key items:
- Water-resistant paint for walls
- Lightweight, durable flooring options
- Compact fixtures to save space
- Quality hardware for cabinets
- Stylish yet practical storage solutions
Finding fixtures that complement your design can elevate the space.
Remember to balance aesthetics with practicality, ensuring everything you choose can withstand the rigors of camper living.
With the right materials, your remodeled bathroom will be both beautiful and functional.
Step-by-Step Renovation Process
Starting on a camper bathroom remodel can be an exciting yet challenging endeavor, and breaking it down into manageable steps makes the process smoother.
Begin by evaluating your space and identifying remodel challenges like plumbing or layout restrictions. Next, gather design inspiration from online platforms or magazines to visualize your dream bathroom.
Evaluate your space and identify challenges, then seek design inspiration to envision your perfect bathroom remodel.
Once you’ve settled on a plan, clear the area and start with the essentials—demolishing old fixtures and prepping surfaces.
Focus on installation next, ensuring everything is level and secure. Finally, double-check your work and prepare for the finishing touches, setting the stage for a beautiful, functional upgrade.
Adding Final Touches and Decor
To create a welcoming atmosphere in your newly remodeled camper bathroom, focus on the final touches and decor that reflect your personal style.
Use decorative accents and functional storage to enhance both aesthetics and utility. Consider these ideas:
- Hang a colorful shower curtain for a pop of color.
- Add a small shelf for essential toiletries.
- Use decorative baskets for organized storage.
- Incorporate a mirror to create the illusion of space.
- Include plants or art for a personal touch.
These elements won’t only beautify your space but also make it more practical and enjoyable during your travels.
Conclusion
By following these easy steps, you can transform your camper bathroom into a stylish and functional space. Take the time to assess your needs, plan wisely, and choose the right materials to make the most of your compact area. With a little creativity and DIY spirit, you’ll create a cozy retreat that enhances your travel experience. Now, roll up your sleeves, get started on your remodel, and enjoy the journey ahead!