Cutting bike cable housing might seem straightforward, but getting it right is crucial for your bike’s performance and safety. Whether you’re upgrading your brakes or tuning your gears, knowing how to cut bike cable housing properly can save you from frustration and costly repairs. In this comprehensive guide, we’ll walk you through everything from tools to techniques, so you can confidently trim and install cable housing like a pro.
Understanding Bike Cable Housing
What Is Cable Housing?
Cable housing is the protective sheath that surrounds your bike’s brake or gear cables. It keeps cables aligned, shields them from dirt and moisture, and ensures smooth operation. Think of it as the conduit that guides the inner cable, allowing your bike’s components to work efficiently.
Why Proper Cable Housing Length Matters
Too long or too short cable housing can cause sluggish shifting or poor braking performance. If the housing is too long, it adds unnecessary slack, making the controls feel loose. Too short, and it puts strain on cables, increasing wear or causing the cables to snap. Cutting the housing to the correct length ensures optimal tension and responsiveness.
Essential Tools for Cutting Bike Cable Housing
Best Cable Cutters for the Job
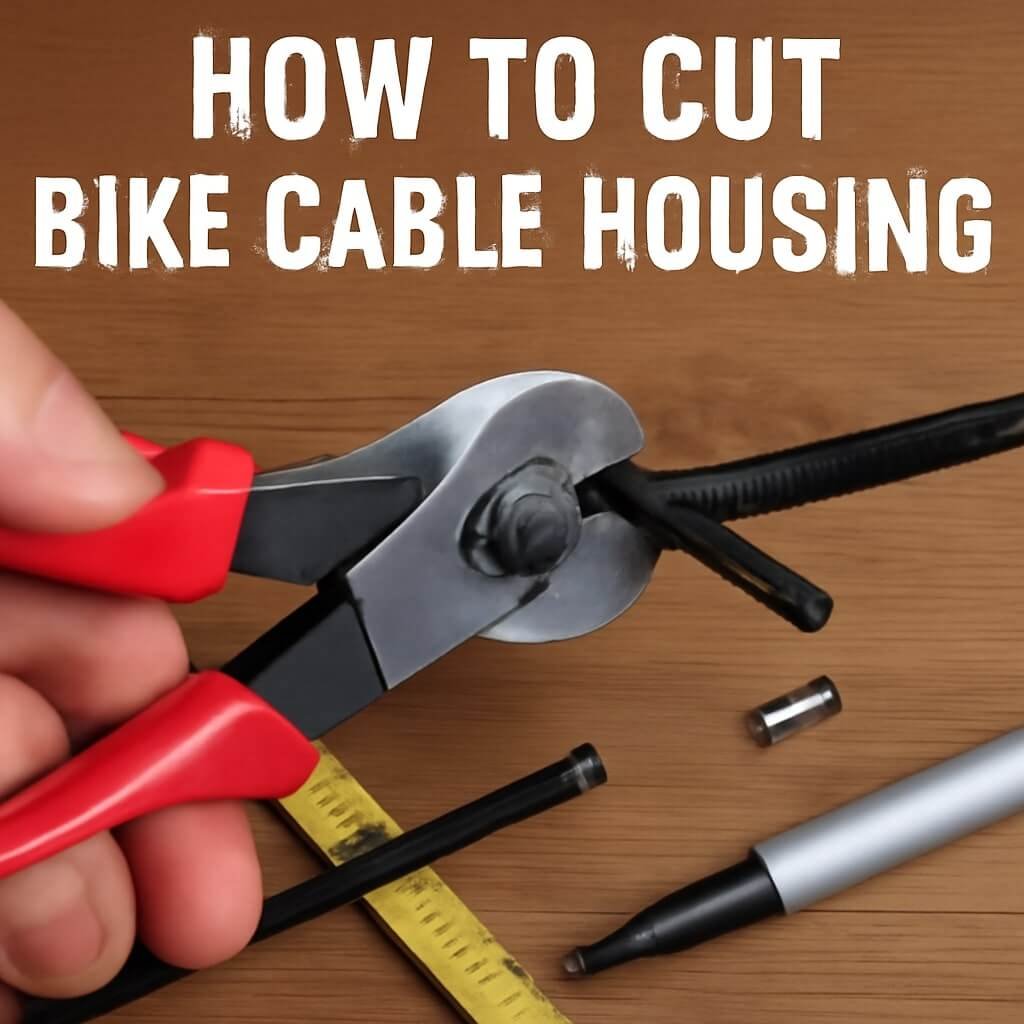
Not all cutters are created equal. Using the right cable cutters designed for bike cables ensures a clean, precise cut without crushing or deforming the housing. Look for cutters with sharp, hardened steel blades specifically made for bike cables.
Additional Tools You’ll Need
- A measuring tape or ruler
- A marker or pencil for marking the cut point
- Ferrules (end caps) to protect cut ends
- Pliers or crimpers for installing ferrules
- A file or sandpaper to smooth rough edges
Step-by-Step Guide to Cutting Bike Cable Housing
Measuring the Correct Length
Start by routing the cable housing on your bike frame, following the path the cable will take. Measure the distance from the lever or shifter to the brake or derailleur, allowing a slight extra length for smooth bends and flexing.
Marking and Preparing the Cable Housing
Mark the exact spot on the housing where you plan to cut. Double-check your measurement before proceeding to avoid costly mistakes.
How to Make a Clean Cut
Using your cable cutters, position the housing firmly and make a single, clean cut. Avoid twisting or squeezing the housing, which can deform it and make cable insertion difficult.
Finishing Touches: Installing Ferrules and End Caps
Slide a ferrule over the cut end to prevent the housing from fraying and to keep it seated properly in cable stops. Crimp the ferrule gently with pliers to secure it in place. Finally, test the fit with your inner cable.
Common Mistakes When Cutting Cable Housing and How to Avoid Them
- Cutting housing without proper tools, leading to crushed ends
- Incorrect measurement causing too short or too long housing
- Forgetting to install ferrules, which results in fraying
- Rushing the cut, leading to uneven or jagged edges
Avoid these pitfalls by taking your time and using the right equipment.
Maintaining Your Bike Cable Housing
When to Replace Cable Housing
Replace cable housing if you notice cracks, kinks, or excessive wear. Over time, housing can become brittle, causing poor cable performance.
Cleaning and Lubricating Cable Housing
Regularly clean your bike’s cables and housing with a mild degreaser and apply lubricant to ensure smooth movement. This extends the life of your cables and housing.
Troubleshooting Cable Housing Issues
Signs of Cable Housing Wear and Tear
- Sticky or sluggish gear shifts
- The brake lever feels spongy or unresponsive
- Visible cracks or fraying on the housing
How to Fix Cable Housing Problems
Often, replacing the housing or inner cables is the best solution. Proper cutting and installation prevent many common issues.
FAQs About Cutting Bike Cable Housing
1. What’s the best tool to cut bike cable housing?
2. Can I use regular wire cutters?
3. How do I know the correct length of cable housing?
4. Are ferrules necessary?
5. How often should I replace cable housing?
6. Can I reuse the cable housing after cutting?
Conclusion: Perfect Your Bike Maintenance Skills
Mastering how to cut bike cable housing not only improves your bike’s performance but also boosts your confidence in bike maintenance. With the right tools, accurate measuring, and careful cutting, you’ll keep your brakes sharp and your gears shifting smoothly. Remember, practice makes perfect, so don’t hesitate to take your time and pay attention to detail. For more bike maintenance tips, check out Park Tool’s Maintenance Guides.